Brief Summary
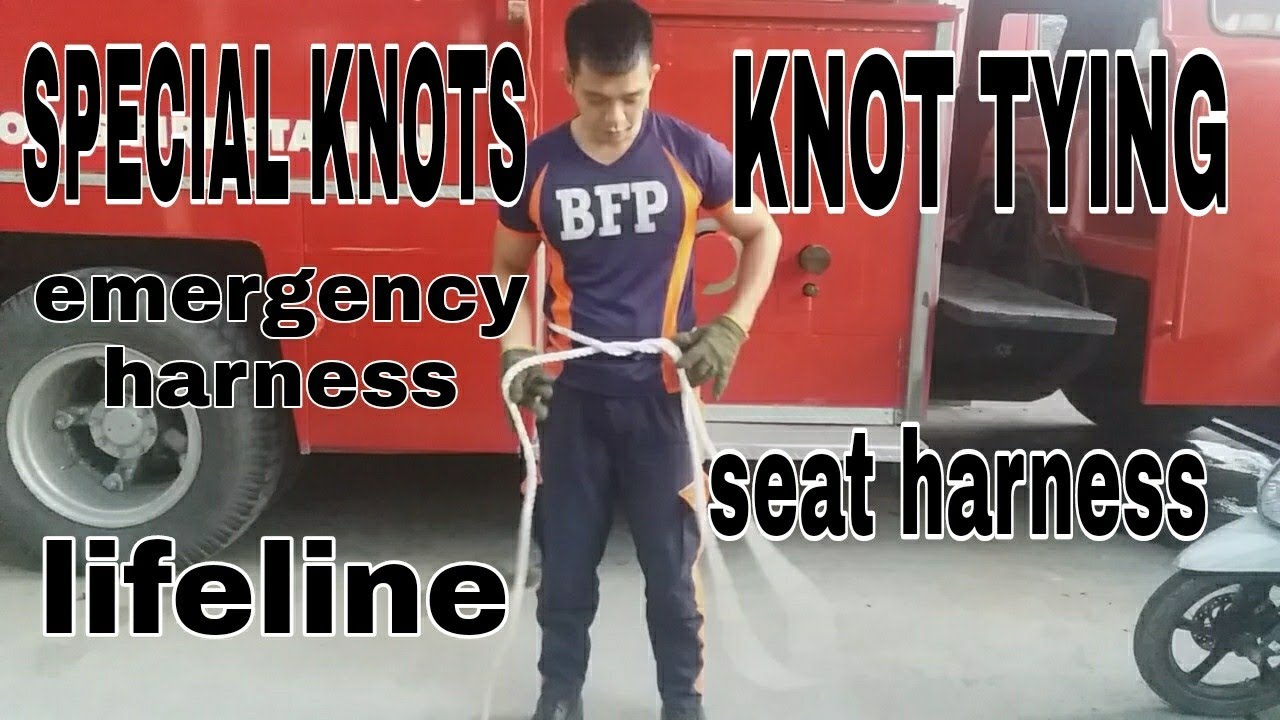
This video demonstrates how to tie three essential knots using a utility rope for emergency situations: the emergency seat harness, the lifeline, and the seat harness. The tutorial provides step-by-step instructions for each knot, ensuring viewers can create them effectively for safety and rescue purposes.
- Emergency seat harness for support.
- Lifeline for secure lifting.
- Seat harness for stability.
Introduction
The video introduces a tutorial on how to tie special knots using a 4.5-meter utility rope, which can be crucial in emergency situations. The instructor prepares to demonstrate three specific knots designed for safety and rescue purposes.
Emergency Seat Harness
The first knot demonstrated is the emergency seat harness. The instructor measures the rope, pulls the tail, and secures it using a square knot (right over left, then left over right) with a lock to prevent slippage. An overhand knot is added for extra security. The harness is then positioned around the back, with the rope grabbed underneath to create a secure loop for attaching a rod or other equipment.
Lifeline
Next, the video explains how to tie a lifeline, useful for lifting someone who is anchored. The instructor finds the middle of the rope, makes a loop to the side, turns it around, and inserts the end through the loop before tightening it. A ball line is created at the end to make the line more visible and prevent it from getting caught, secured with an overhand knot.
Seat Harness
The final knot is another variation of a seat harness. The instructor positions the rope and ties a series of square knots, again using the right-over-left and left-over-right method, to create a secure and stable harness.

