Brief Summary
This video shares 18 essential sourdough baking tips for bakers of all levels. It covers starter creation and maintenance, flour selection, recipe understanding, dough handling techniques, fermentation control, shaping, proofing, steaming, and crumb analysis. The video emphasizes understanding the science behind sourdough and adapting techniques to individual circumstances for consistent, high-quality results.
- Use whole grain flour for easier starter creation.
- Understand your recipe and adjust timings based on your starter's activity and environment.
- Control fermentation through water content, temperature, and techniques like stretching and folding.
Easy starter with whole-grain flour
Using whole grain flour, such as whole wheat or rye, simplifies sourdough starter creation because the grain's hull has more wild yeast and bacteria. When mixed with water, these spores become active as sugars become available, which helps the sourdough microorganisms hook in. Starters made with white flour take longer because they have less of the hull part. You can start with whole flour and switch to white flour later.
Your starter thrives when you bake often
The older a sourdough starter is, the better it becomes at fermenting flour. Each feeding selects for the microbes best suited to fermenting flour, outcompeting less adapted microbes. An older starter ferments faster, is more resilient, and provides better flavor. If possible, obtain a bit of very old starter from a friend to compare its performance against a new starter.
Active starter = happy baker
An active starter leads to a smoother fermentation profile without extreme activity swings. To make a starter more active, feed it regularly, especially after periods of inactivity. Look for bubbles on the edge of the container and a good scent as signs of activity. A starter in good shape ensures better fermentation in the main dough, as the starter is essentially a small, salt-free dough.
Great flour = great bread
Flour is the foundation of sourdough bread, so it's important to choose a good one. For wheat-based sourdough, use flour with a higher protein content for higher gluten content. This allows for longer fermentation because the gluten is degraded over time. If the gluten degrades too much, the bread will lack texture.
Sourdough beyond the classic loaf
Sourdough isn't limited to freestanding loaves; flatbreads baked on a stove and breads baked in loaf pans are great alternatives. Flatbreads are convenient for camping, while loaf pan breads don't require as much fermentation control due to the container's support. Loaf pan breads are more uniform, making them ideal for sandwiches.
Know your recipe
A real sourdough bread should only contain flour, water, and salt, without baking powder or additional yeast. Be cautious about timings in recipes, as sourdough starters vary and behave differently based on room temperature and state. The beauty of sourdough is in combining these ingredients to perfection, which can be complex but always results in amazing bread.
Less water = happier yeast and happier you
While a 1:1 water-to-flour ratio is good for initially setting up a sourdough starter, lowering the hydration later is recommended. Ideally, the starter should have the same water level as the dough, around 60% hydration. Lowering hydration pushes yeast activity and reduces bacterial activity, which is beneficial if the flour isn't strong. A stiff starter provides benefits, but those with very strong flour can try a liquid starter for an incredible tang of flavor, though it's riskier due to potential over-fermentation.
Knead smarter & save time
Instead of kneading dough for 10 minutes straight, mix the ingredients until homogenized, then pause for 15 minutes. This allows the gluten network to start forming. Continue kneading a little, saving about 15 minutes of hard work. A good process is to mix, wait 15 minutes, knead for 2-3 minutes, wait another 15 minutes, and then knead again for 2-3 minutes.
Fermentolyse vs autolyse
Instead of autolyse, where only flour and water are mixed initially, use fermentolyse by mixing all ingredients together with a lower amount of starter. Autolyse activates enzymes that improve dough properties and provide food for microorganisms. Fermentolyse achieves the same effects while saving time. Use around 10% starter in summer and up to 20% in winter to allow time for the enzymes to work.
Know when to stretch and fold
Stretching and folding creates additional dough strength, but it's often overrated. You can knead more initially, pre-shape the dough, or shape the bread tighter to achieve the same effect. Read the signs of the dough; stretch and fold when it flattens out. If short on time, knead more at the start or perform a tighter shaping.
Know when your fermentation is done
Knowing when fermentation is complete is key to mastering sourdough bread. During bulk fermentation, aim for a 25% size increase in the dough. Use a small sample of the dough in a container next to the main dough to observe the size increase, ensuring consistent room and dough temperatures. Also, note the scent of the dough, which should be similar to the starter.
Use your dough as next starter
Use a bit of the current dough to inoculate the next bread dough, which eliminates waste. Cut off a portion of the dough and put it into a jar. To keep a backup, cut off about 50g of dough, move it into the fridge, and use it within a week. If the dough is warm, the starter won't last as long. While the dough contains salt, this isn't a problem.
Divide and preshape only when kneaded
Dividing and pre-shaping are necessary when making multiple breads from one bulk dough. If making a single dough for a single bread, skip these steps and shape the dough directly from the container. Pre-shaping can create additional dough strength if needed.
Only add flour for shaping
Avoid using flour during pre-shaping to allow the dough to drag over the surface. Only add flour when shaping the dough to prevent it from sticking to the countertop. The shaping point determines the final form of the dough, whether it becomes a batard, boule, ciabatta, or baguette.
Perfect proofing with a fridge
The fridge is an excellent tool for timing when to bake your bread. After shaping the dough, place it in the fridge to slow down fermentation. The shaped bread dough can be baked 8, 24, or even 48 hours later, depending on the fridge temperature.
Steam for perfect bread
Use as much steam as possible during baking to prevent a crust from forming too early, which restricts the bread's expansion. Steam helps create a fluffy inside and a crisp crust. Use a tray with stones and an inverted tray on top, a Dutch oven, or bake at a lower temperature.
Don't slice too fast
If you cut your bread while it's still too warm, the crumb will tear, and you'll lose texture. Wait at least an hour before slicing.
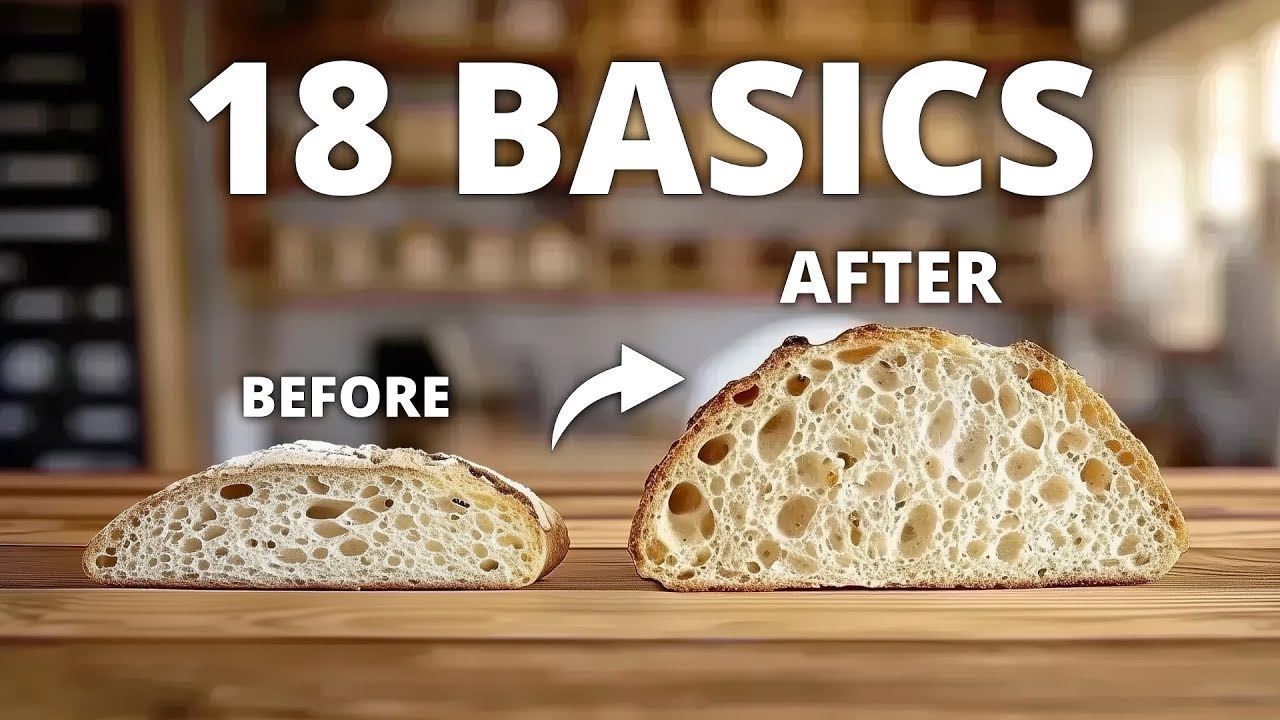
Read your dough's crumb structure
After baking, check the crumb structure to identify issues that occurred during fermentation. The crumb structure provides clues on what to improve next time. When sharing photos with other bakers, include a picture of the crumb structure to help them debug any problems.

