Brief Summary
This video provides a step-by-step guide on scoliosis exercises for pain relief and posture improvement that can be done at home without equipment. It emphasizes the importance of warming up muscles before stretching and strengthening, focusing on both the upper and lower back. The exercises target specific muscles around the scoliosis curve, with considerations for both C-shaped and S-shaped curves.
- Warm-up exercises are crucial for loosening muscles before starting the main exercises.
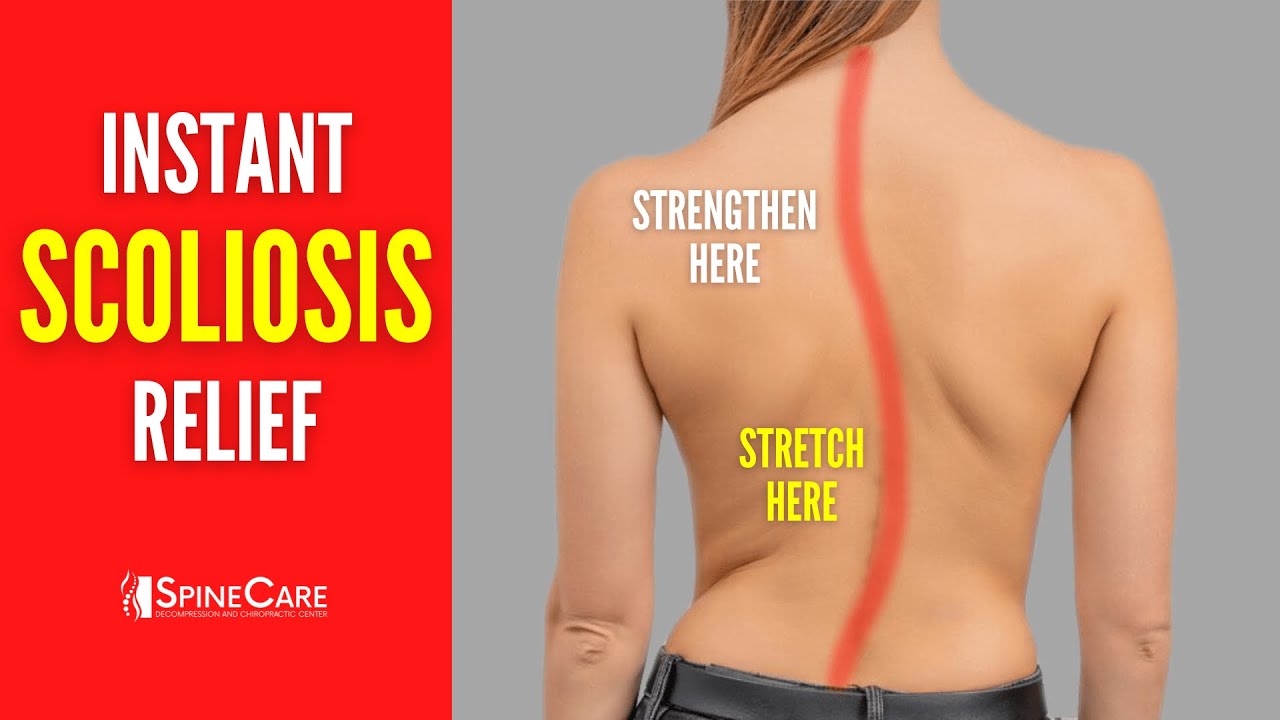
- Strengthening the muscles on the outside (convex side) and stretching the muscles on the inside (concave side) of the curve is essential.
- Exercises are demonstrated for both upper and lower back, considering pelvic tilt and muscle imbalances.
Intro
Dr. Rowe introduces a video about scoliosis exercises to relieve back pain and improve posture. The exercises require no equipment, can be done at home, and may provide quick relief, potentially within 30 seconds. The focus is on strengthening and lengthening muscles around the scoliosis curve.
Muscle Warm Up
The video starts with a warm-up exercise called thoracic controlled articular rotations (thoracic CARs) to loosen muscles and soft tissues. This involves circular motions with the back, both clockwise and counterclockwise, focusing on putting as much movement into the back as possible. The exercise is progressed by incorporating flexion (bending forward) and extension (leaning backward) to identify and work through tight, achy movements or positions, repeating them until range of motion improves and tightness decreases.
IMPORTANT Info!
After warming up, the video transitions to stretching and strengthening exercises. It's important to strengthen the muscles on the outside (convex side) of a C-shaped curve and stretch the muscles on the inside (concave side). For an S-shaped curve, both sides need to be addressed. The strengthening exercises are divided into upper and lower back sections.
Upper Back Strengthening
The first upper back strengthening exercise is the scapular push-up, targeting muscles around the shoulder blades, including the rhomboids. Starting on the floor with forearms in a V-shape and chin tucked, the back is lifted, maintaining a straight line. The exercise involves a push-up motion with the shoulder blades, pinching them together and holding for 3-5 seconds, then pressing upward to expand the shoulder blades, repeating 10-15 times. A more advanced version, the dolphin press, targets the serratus anterior (boxer's muscle) for scapular stability, which can help with winging shoulder blades. This involves raising the butt upward while lowering the head towards the floor, holding for 5 seconds, and repeating 10-15 times. The second exercise is a side raise performed lying on the side with the convex side of the scoliotic curve facing downward. The legs are staggered, and the hips are driven upward until the body forms a straight line, activating the outer part of the scoliotic curve. This position is held for 3-5 seconds, repeated 10-15 times.
Lower Back Strengthening
For scoliosis in the lower back, the video addresses pelvic tilt with the hip hiker exercise. The high hip side is placed on a stair, and the lower hip is raised upward, engaging the glutes, hip muscles, and quadratus lumborum (QL). The QL is a key stabilizer of the pelvis. This position is held for 5 seconds and repeated 10-15 times. The second exercise is a side bend using a weight (like a water bottle, kettlebell, or dumbbell) on the side of the open curve (convex side). The weight is slowly lowered towards the floor, tilting the body to the side, and held for 5 seconds, then slowly returning to the starting position. This is repeated 10-15 times, focusing on engaging the muscles on the side of the back.
Upper Back Lengthening
The video transitions to lengthening exercises, focusing on the muscles on the inner (concave) part of the curve, which tend to become shortened and tight. The first exercise for the upper back is the standing puppy, performed next to a wall or door. With hands overhead and arms shoulder-width apart, the body is leaned into the door while squatting downwards, putting weight on the heels. The chest is allowed to sag forward, opening up the shoulder blades. To target the concave side, the body is leaned away from the open curve, holding the stretch for 30 seconds to 2 minutes, while breathing slowly. This is repeated 3-5 times, building into the stretch with each repetition.
Lower Back Lengthening
For the lower back, the video demonstrates a walling exercise. With an open curve facing a door or wall, the body is positioned with feet together and leaning into the door, resting body weight on the forearm. The hand is placed on the lower back, and the body and hips are pressed towards the door, feeling a gentle stretch. This position is held for 30 seconds to longer, and the exercise is repeated, targeting different points along the curve from the ribs to the hip. More repetitions are done on the spots that provide the most stretch or relief until the area feels loosened up.

