Brief Summary
This video provides a step-by-step guide on how to automatically organize files in your Mac OS downloads folder using the Shortcuts app and its automation feature. It covers setting up folder automations, creating shortcuts to move specific file types (like PDFs and JPGs) to designated folders, and offers tips for testing and expanding the automation.
- Automate file organization in your downloads folder.
- Use Mac OS shortcuts and the automation feature.
- Create specific folders for different file types.
- Test the automation on a sample folder first.
Intro - Auto Organize Downloads Folder
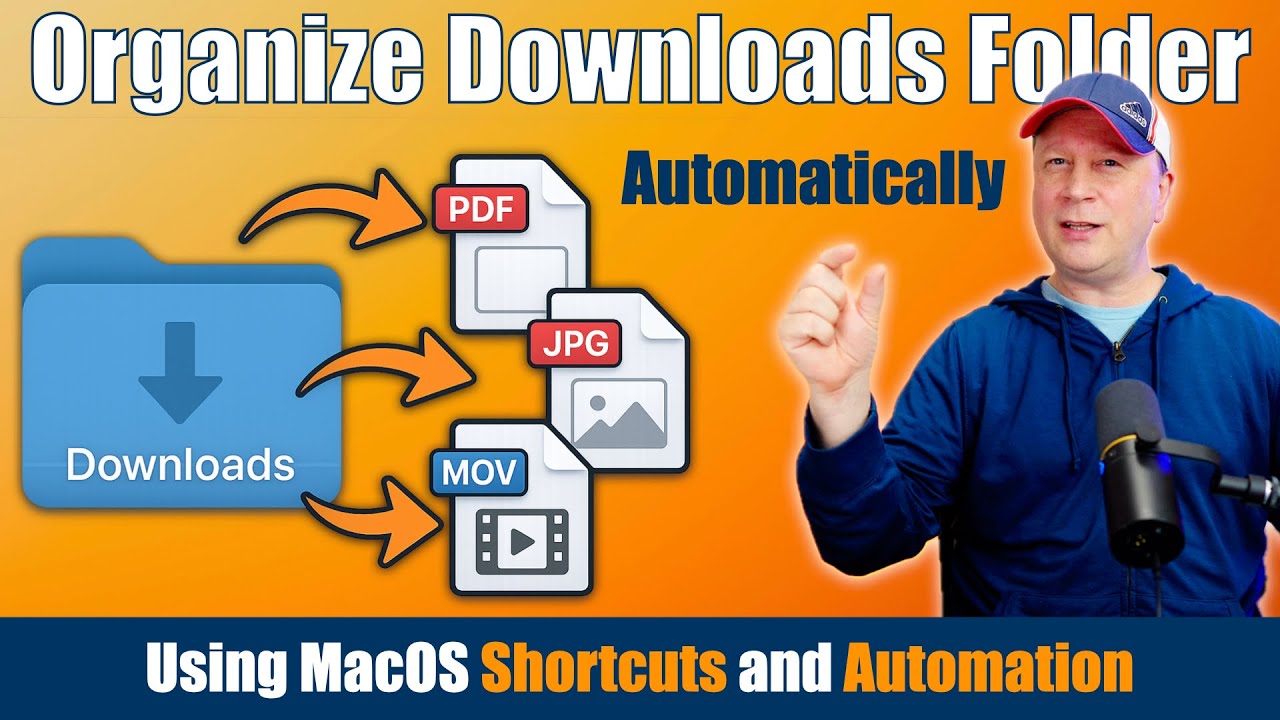
The video introduces a method to automatically organize files in a Mac OS downloads folder, which often becomes cluttered over time. The presenter aims to demonstrate how to automatically move files from the downloads folder to specific folders based on their file type. This is achieved using Mac OS shortcuts and the automation feature.
What We Cover In Video
The video will show how to automatically move files that go into your downloads folder to other folders that are specific to the file type. The presenter will show the basics to get you started, and you can keep adding to this as you need to. It's recommended to test this out on a fake folder first to make sure you know what you're doing. It's also better to start with an empty downloads folder.
Open Shortcuts and then Automation
To begin, you need to open the Shortcuts app on your Mac. This can be found in the applications folder. Once opened, navigate to the automation section, which allows you to set up automated tasks. Note that this feature requires a fairly recent version of Mac OS. In the automation section, click the plus symbol to create a new automation. Automations allow you to automate a folder so that when files are moved into the folder, they automatically do something based off of a shortcut.
Setting Up The Automation
In the new automation setup, select "folder" as the trigger. Then, choose the folder you want to monitor, typically your downloads folder. Configure the automation to trigger when any item is added to the folder and set it to run immediately without confirmation or notification. After setting the trigger, click "next" and then select "new shortcut" to define the actions to be performed when a file is added to the designated folder.
Creating Shortcut To Move PDFs
In the shortcut editor, start by adding a "repeat with each" action and set the items to "added files". This ensures the shortcut processes each file added to the folder. Next, add an "if" statement to check the file extension. Set the condition to "if file extension is PDF". Within the "if" block, add a "move file" action to move the PDF file to a designated PDF folder. This folder can be within the downloads folder or any other location, including an external SSD. Finally, name the shortcut for easy identification.
Creating Shortcut to Move JPGs
To extend the automation to other file types, add another "if" statement below the previous one. This time, set the condition to "if file extension is JPG". Within this new "if" block, add another "move file" action to move JPG files to a designated images folder. Ensure that the "move file" action is set to move the "repeat item" to the correct folder. This process can be repeated for any number of file types, such as PNGs, each with its own "if" statement and corresponding "move file" action.
Final Thoughts on Auto Organizing Files
The video concludes by emphasizing the flexibility and expandability of the automation system. The presenter encourages viewers to think of the setup as a program that can be customized with various "if" and "then" statements. He also highlights the numerous other automation triggers available in the Shortcuts app, such as message arrival or HDMI port connection. The presenter advises viewers to always back up their data and test automations on empty folders before applying them to their main downloads folder.

