Brief Summary
This video serves as a practical guide to constructing detonators from commercially available components. It emphasizes safety, reliability, and the importance of understanding each component's role in the explosive train. The video covers the selection of materials for the cap body and header, the use of American Visco fuse for time delays, and electric initiation methods. It also details the equipment needed for loading caps, including scales, charging stations, and safety measures like shielding and Kevlar gloves. The process of loading and crimping detonators is explained step by step, with a focus on achieving proper density and ensuring waterproof connections.
- Focuses on constructing detonators from readily available materials.
- Stresses safety protocols and component reliability.
- Provides step-by-step instructions for assembly and testing.
Introduction to Detonator Construction
The video introduces the construction of detonators using commercially available products, emphasizing the importance of detonators as the most critical component in an explosive train. The content aims to provide a guide for making reliable detonators, while also addressing the moral considerations associated with teaching explosives. The instructor frames the information as a means to strengthen the Second Amendment and serve the country, highlighting the relevance of this knowledge in unconventional warfare scenarios. Despite the potential for misuse, the information is presented as critical for preparedness and defense.
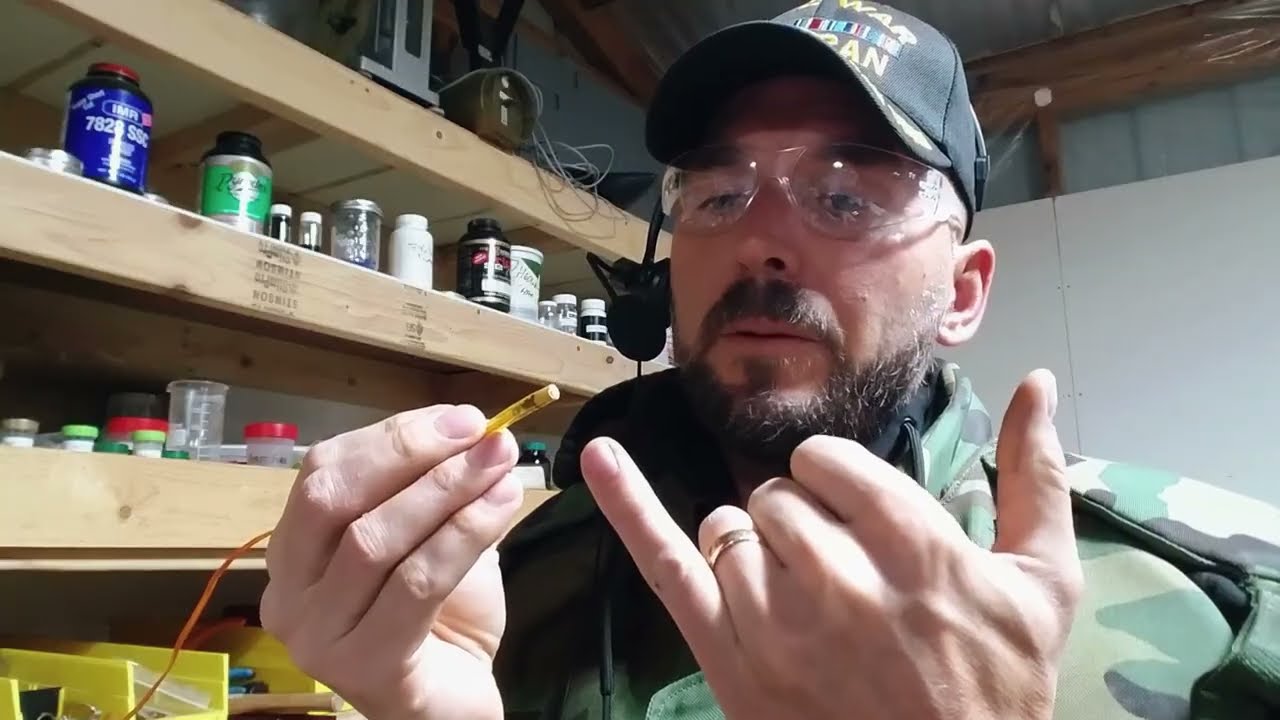
Components for Detonator Construction
The primary components for constructing the detonator are discussed, starting with the cap body, specifically the PT100 cap made in China, which is mass-produced as a thermal couple housing with a 5mm internal diameter and a volume of 1.1 cubic centimeters. These stainless steel caps are preferred for their non-sparking properties. The header section typically uses TYON tubing (3x5), commonly used for fuel tubing, with an internal diameter of 3mm and an outer diameter of 5mm, ensuring a snug fit inside the PT100 cap. For time delays, American Visco fuse, approximately 3mm in diameter, is recommended for its reliability over Chinese fuse, especially in life-threatening applications. Electric initiation is also discussed, using Chinese-produced resistance wires with a waterproof pyrogen on the tip, suitable for use inside TYON tubing.
Equipment for Loading Detonators
Essential equipment for loading detonators includes a precise scale, a cap charging station made from an old lab stand with clamps to hold a loading funnel, and a loading block made from a 2x4 pine with a plum center hole. Additional tools include a 17 caliber RCBS powder funnel, a 2.8mm diameter stainless steel rod (316), and a 5mm dowel pin. The setup also features an arbor press shielded with ceramic bricks and a polycarbonate shield to protect against fragmentation during pressing.
Step-by-Step Detonator Loading Process
The process begins by placing a PT100 casing into the tighter hole of the cap mold and setting up the powder funnel over the cap. Pent is the recommended filler, with a total of 0.75g used in stages. About one-third of the Pent is poured into the funnel and gently pushed down with a stainless steel rod, then pressed firmly to achieve high density for the output section. The cap mold is placed on the press behind a brick mask and polycarbonate shield, and a Kevlar glove is worn on the loading hand for protection. The pressing stroke is done slowly, using arm pressure to avoid detonation. The pressing arm is repositioned to maximize leverage, and the process is repeated with the remaining Pent in two more stages, with the last third pressed lightly to ensure low density for increased reliability.
Header Installation and Waterproofing
Before installing the header, continuity is tested to ensure a viable circuit. For electric igniters, the plastic cap is removed, and the igniter is sleeved with TYON tubing, leaving about 6-7mm for the primary explosive, NAP. The header section is pressed against a pile of NAP to fill it, and the NAP is compressed with a 3mm tool to increase density. The header can be sealed with foil tape for added protection. The primary explosive is kept separate from the base charge for safety. The header is then inserted into the cap body with a twisting motion, ensuring it is fully seated against the secondary explosive charge. The cap is crimped using military crimpers about 2mm down from the mouth opening to make it waterproof, ensuring the pyrogen is inside the TYON tubing in front of the crimp.
Time Fuse Detonator Construction
For a time delay detonator, American Visco fuse is used. A test burn is performed to measure the burn rate of the fuse accurately. The fuse is cut at an angle to maximize surface area and spit. The fuse is inserted into the TYON tubing header, leaving about 7mm for approximately 35-50mg of NAP. The NAP is pressed onto the tip and compressed with a 3mm tool. The header section is sealed off with aluminum foil tape. The header is then wiggled into the cap body, and the cap is crimped using military circumferential crimpers to ensure it is waterproof.
Firing the Electric Detonator
To fire the electric cap, a hole is poked in the ground with a crimping tool for safety, and the cap is inserted. The leads are unshunted and connected to the firing wire. The blasting wire is attached, and the input side is also unshunted. A cheap Chinese remote firing device is used, with the firing wire connected to the receiver. The continuity tester is used to ensure a connection. The receiver is set out of the way, and the detonator is fired remotely.

