Brief Summary
This video presents a straightforward 15-minute trading strategy applicable across various assets. It emphasizes aligning with higher time frame trends, identifying liquidity sweeps, and using Fibonacci retracements as a measurement tool rather than an indicator. The strategy aims for high-probability setups with minimal drawdown, focusing on mechanical rules to remove emotional decision-making.
- Utilizes 15-minute and 4-hour time frames for execution and bias.
- Focuses on identifying liquidity sweeps at major highs and lows.
- Employs Fibonacci retracements as a measurement tool for framing trades.
Introduction to the 15-Minute Trading Strategy
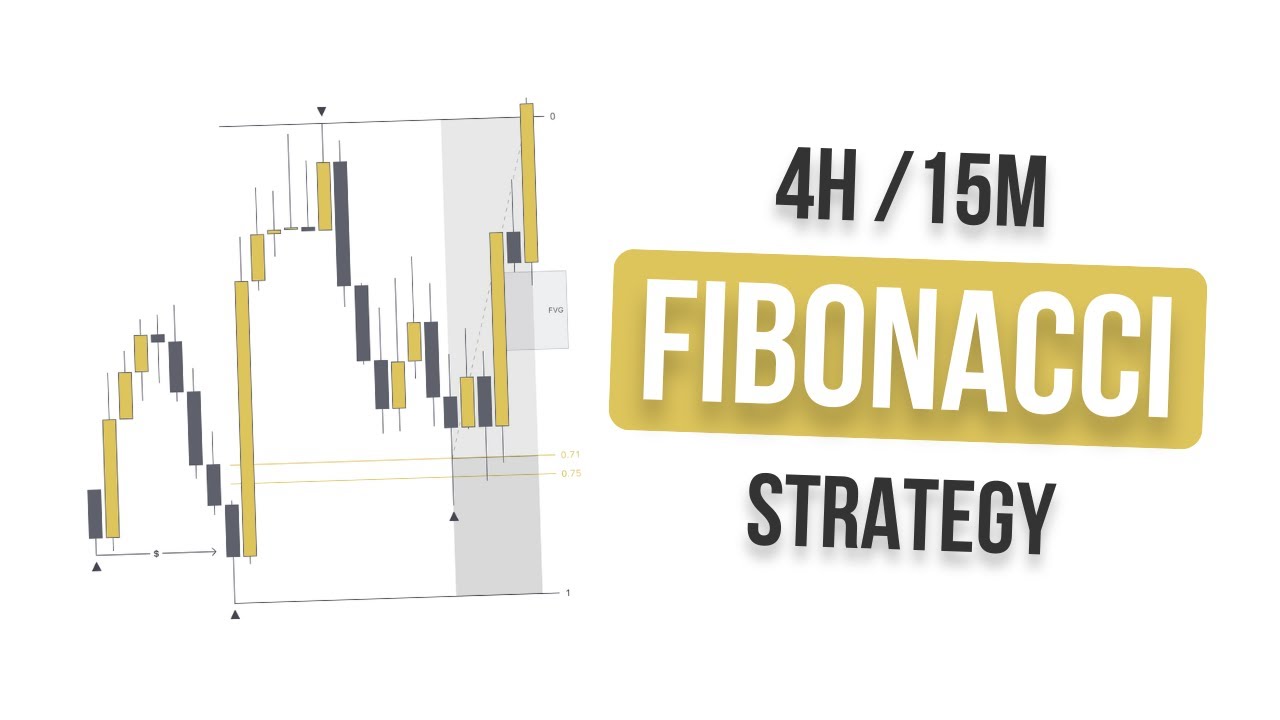
The presenter introduces a simple 15-minute trading strategy that can be applied to almost any asset and provides weekly trading opportunities. The strategy uses two time frames: the 15-minute chart for trade execution and the 4-hour chart to establish a higher time frame bias. The presenter uses a custom indicator to automate chart annotations, but emphasizes that manual charting is also effective. The core of the strategy is a four-item checklist: higher time frame alignment, liquidity sweep, break of structure plus imbalance, and a 71% retracement.
Higher Time Frame Alignment: Premium and Discount
The first step in the strategy is higher time frame alignment, which involves using the 4-hour chart to determine the overall trend. The presenter explains the concept of premium and discount pricing within a trading range. Anything above the 50% level is considered premium, indicating potential selling opportunities, while anything below is discount, suggesting buying opportunities. The indicator automatically checks premium and discount on the higher time frame, simplifying the process of identifying potential trading biases.
Liquidity Sweep: Identifying Resting Money in the Market
The next step is identifying liquidity sweeps, which are crucial for understanding potential market movements. Liquidity refers to resting money in the market, often found at major highs and lows. The market tends to purge this liquidity to fuel its next move. A liquidity sweep occurs when price pierces above a previous high (buyside liquidity) or below a previous low (sellside liquidity). Identifying these sweeps helps traders anticipate the next likely direction of price movement, building a narrative on the chart rather than blindly following patterns.
Break of Structure Plus Imbalance: Signaling Trading Opportunities
A break of structure (BOS) signals a potential trading opportunity. The presenter's indicator marks major highs and lows and identifies when a structural low or high is violated, printing a BOS label. After a break of structure, it's important to wait for a retracement towards a fair value gap or imbalance. An imbalance, or fair value gap, is a three-candlestick pattern where a significant gap exists between the low of the first candle and the high of the third, indicating an inefficiency that price is likely to fill.
71% Retracement: Framing the Trade
The final item on the checklist is the 71% retracement, which is used to frame the trade using the Fibonacci retracement tool. The presenter clarifies that the Fibonacci tool is used as a measurement tool, not an indicator. The 71% level is used to achieve a favorable risk-to-reward ratio, typically around 2.45. The presenter demonstrates how to use the short position tool on TradingView to set the entry at the 71% level, with the stop-loss at the high of the Fibonacci range and the take-profit at the low.
Hidden Confluence: Aligning Fibonacci with Imbalance
A hidden confluence that increases the probability of success is when the 71% Fibonacci retracement level aligns with a fair value gap or imbalance. This alignment suggests a high likelihood of price reacting at that level, minimizing potential drawdown. The presenter emphasizes that while no strategy is 100% foolproof, this confluence can significantly improve the odds of a successful trade.
Example 1: GBP/AUD Trade Analysis
The presenter reviews a successful trade example on GBP/AUD, highlighting how price reacted to the fair value gap and dropped aggressively. Despite an initial reaction, the trade remained valid because neither the high nor the low of the Fibonacci range was violated. The presenter notes the minimal drawdown before the trade was activated, followed by a quick drop to the take-profit level, illustrating a textbook example of the strategy.
Example 2: NZD/USD Imperfect Setup
The presenter provides a second example on NZD/USD, which is less straightforward. The 4-hour time frame indicates a discount, suggesting buying opportunities. A liquidity sweep occurs at a low, but price fails to break through a previous high, forming relative equal highs. This suggests that price is likely to push higher to take out the liquidity above these highs. The break of structure is not very clear, but an imbalance is present. The Fibonacci tool is used to identify the 71% retracement, and a long position is set up, resulting in a successful trade with minimal drawdown.
Conclusion and Strategy Applicability
The presenter concludes by reiterating the strategy's applicability to various assets, including forex, metals, indices, and cryptocurrencies. The presenter advocates for mechanical trading strategies to remove emotional decision-making and enable robust testing. The key takeaway is to apply the strategy in real time, even on a demo account, to gain confidence and experience its potential benefits.


