Brief Summary
This video demonstrates how to diagnose and fix a Whirlpool single wall oven that is not heating up. The key is identifying a blown fuse that connects directly to both the bake and broil elements. The video covers removing the oven, accessing the fuse, replacing it, and reassembling the unit, along with helpful tips for solo work using an oven dolly.
- Diagnosing oven heating issues by checking bake and broil elements.
- Step-by-step removal and reinstallation of a single wall oven.
- Replacing a blown fuse connected to the bake and broil elements.
- Using an oven dolly for solo appliance repair.
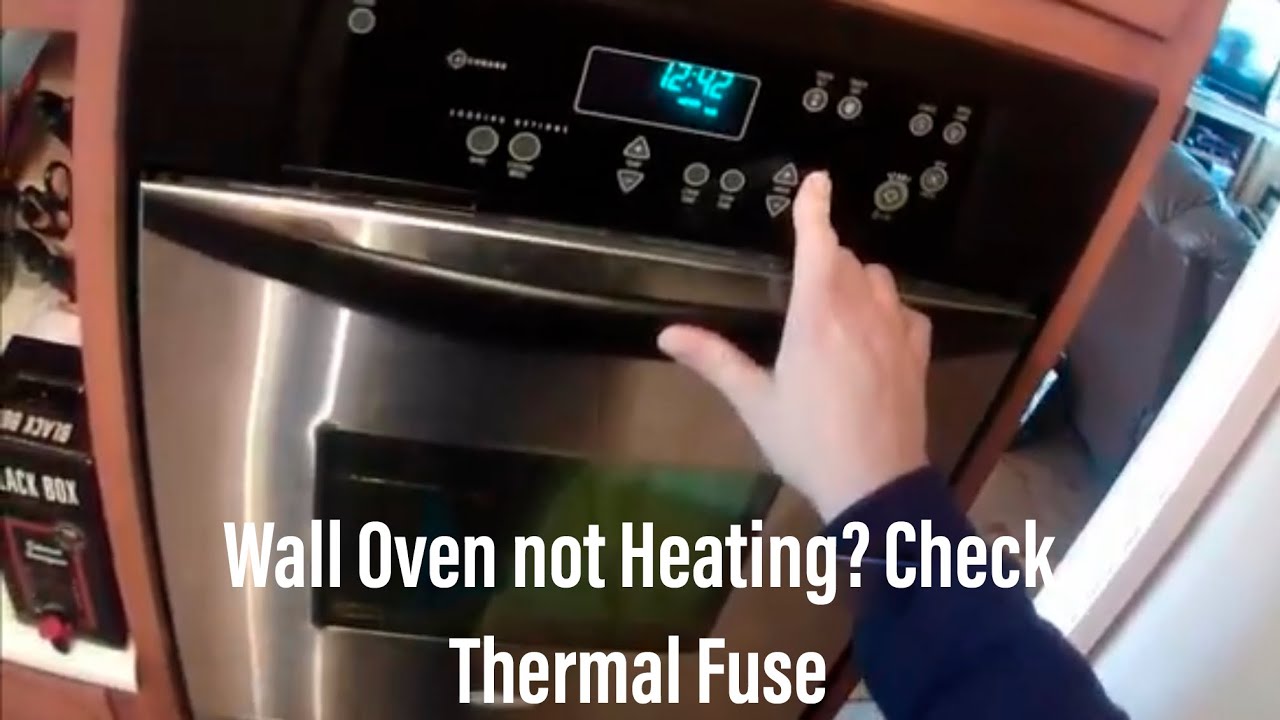
Intro and Initial Diagnosis
The video starts with an introduction to a Whirlpool single wall oven that isn't heating. The initial diagnostic approach involves testing both the broil and bake functions. If neither the bake nor broil elements are working, the likely culprit is a fuse. The video focuses on locating and replacing this fuse.
Oven Removal
The process begins with removing side trim pieces that conceal the screws securing the oven to the cabinet. These trim pieces require lifting and pulling to detach. After removing the screws, the oven can be pulled out using an oven dolly, a tool recommended for technicians to facilitate solo work. The dolly supports the oven's weight, allowing for safe removal. The presenter shares a tip for situations where the oven is installed flush to the floor, requiring the removal of a bottom bracket to properly position the dolly.
Accessing the Fuse
After safely pulling the oven out, the next step involves removing the back panel to access the fuse. The panel is secured with multiple screws, best removed using a number two square driver. Once the panel is off, the fuse is visible. The fuse is wired directly to the broil and bake elements, and if it's open (blown), it will prevent the elements from heating. The presenter notes that the fuse provides the second 120V leg needed for the elements to function, with the first leg coming from the control board.
Fuse Replacement and Element Testing
The video explains that replacing the fuse is a straightforward process involving just two screws. The presenter also mentions that a link to purchase the fuse will be provided in the video description. While the back panel is open, the presenter suggests testing the oven elements with an ohmmeter. A reading between 15 to 35 ohms is considered normal.
Reassembly and Final Testing
The video demonstrates putting the oven back together, emphasizing the importance of replacing clamps and ensuring all components are returned to their original positions. A trick for reinstalling the oven involves slightly tilting it forward while pushing it back to align the rear lip with the cabinet. The presenter reiterates the value of the oven dolly as a worthwhile investment for appliance repair professionals. The video concludes with setting the clock and testing both the bake and broil elements to confirm the repair is successful. The presenter notes that some ovens require the door switch to be engaged for the bake element to activate.

